Steps for installing a Home Theater System with In-wall or In-Ceiling Speakers
This step-by-step tutorial is designed to show the basic principles and steps behind setting up and installing a home theater system with in-wall or in-ceiling speakers. For additional information on home theater setups, HD audio, and/or basic speaker placement please read our HD audio page and be sure to use this at your own risk.
Overview:
- Identify where each component of the home theater system will go. Including the HDTV, Audio/Video receiver, center channel, left and right front speakers, left and right rear surround speakers, subwoofer, Blu-ray player, game consoles, and DVRs or cable/satellite receivers.
- When deciding which components to purchase, be sure to consider size as well as the product's other features because you don't want a speaker or HDTV that won't fit in your home theater room.
- Run the wires to the speakers, TV, and components. Running wires to the rear surround speakers can be difficult but is rather easy if it is done while the house is being built, as shown in this article.
- Place your Components. Mount ceiling speakers, AV Receiver and the rest of the speakers. Mount the TV and connect the rest of the home theater components.
- Plug everything in, sit back, relax and enjoy the home theater system.
Recently I helped a friend install speakers in his ceiling for his 5.1 home theater surround sound system. His house was in the process of being built which makes running the cables much much easier than running the cables once the walls are already in place. Here are a couple pictures of what the house looked like when we first started.

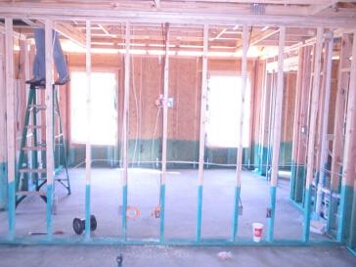
We started off by deciding where the TV and speakers would all go. In the pictures above the he decided that the TV would go on the unfinished wall in front of us with the center of the TV at about 4 feet off the ground. The surround speakers were to go in the ceiling to the left and right of the position where I took the picture from. He also decided that he wanted to install speakers in the master bedroom and bathroom ceilings with volume controls in each room as well.
After we decided where all of the speakers, wire, and volume controls were going to go and had everything generally mapped out we installed the electrical boxes that would provide a housing for the cables inside the finished walls.
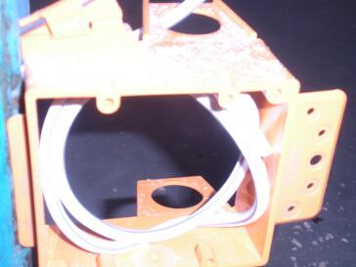
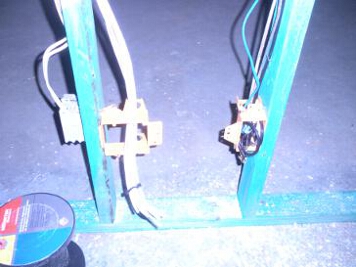
We then ran the speaker cables from the receiver to where the speakers were going to be placed, cutting holes in the 2 by 4s as necessary so that we did not run any audio or video wires right next to the power wires. This is a recommended step but is not required. It is done to be sure that there is no unwanted EMI (Electro-Magnetic Interference) generated from the power cables which can cause a hum to be heard through the speakers.
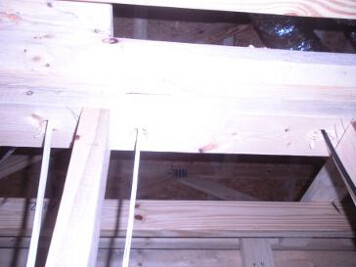
We then ran the cables to their intended destinations, volume switches and locations in the attic where the speakers would eventually be placed.

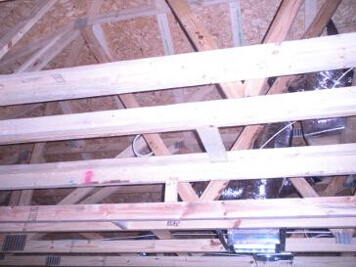
Then we waited for the walls and ceiling to be completed before going any further. The drywall was installed and insulation was blown in making the attic a much different looking space than before, but luckily we tied all the speaker wires up above the insulation so they were easy to find.

The next step was to locate exactly where the speakers would go and cut the holes for them. This was a multi-part process and will depend upon the speakers you purchase as to the size of the holes to cut. We went with MA Audio speakers, model MAQ-840-ALH25. I thought they sound really good for the under $100 class speakers; however, they are now hard to find so another recommended in-wall or in-ceiling speaker is the Yamaha 8" 3-way speaker model NS-IW480CW which run about $185 or the Yamaha 6.5" 3-way speaker model NS-IW280CW which cost around $135 a pair. Both of which have received very good reviews from other users. The next step was to clear out the insulation where the speakers would go in an order to limit the mess made once we cut the hole in the ceiling.

We got the template for the speaker installation in order to determine the size of the hole to cut. This was done simply by tracing the template with a pencil and then cutting it out with a jigsaw.
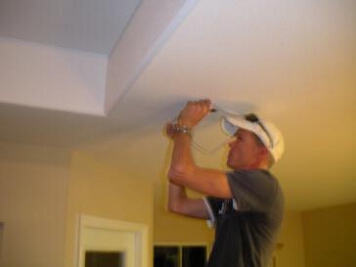
We first drilled a hole with a large drill bit in order to fit the jigsaw blade into the hole in the ceiling and then just followed the pencil markings with the jigsaw.
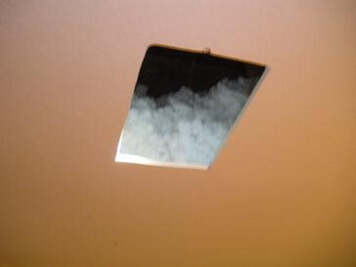
The next step was to screw in the speaker screw clips that hold the speaker into the attic. I think there were six of them that secured the speaker into the drywall. Be careful not to over tighten as that could break the clip and/or crack and break the drywall.
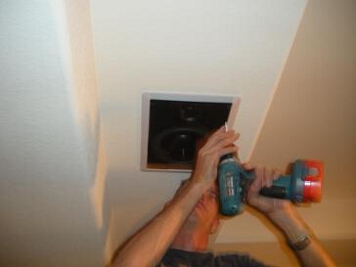
The next step was to run the speaker wire to the speaker and attach the speaker grill as well.
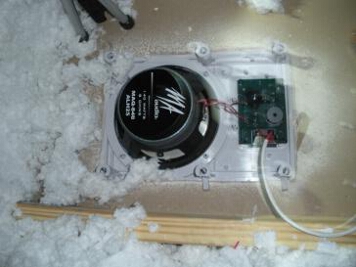

We ended up covering the top of the speaker up with the insulation but it is highly recommended to use a speaker baffle or batt firberglass insulation (usually pink rolled fiberglass) on top of the speaker location instead. Something similar to this foam speaker baffle in order to be sure that the insulation doesn't get into the inner most parts of the speaker and cause it trouble later on down the road.
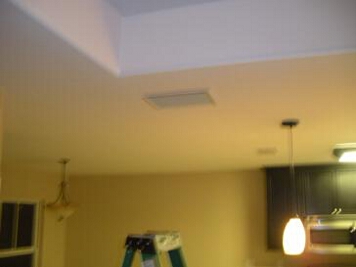
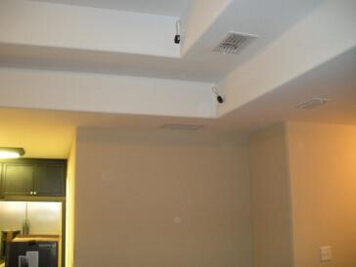
The speaker is in the corner of the room, and looks very similar to the two air vents already in the room (the speaker is in the lower left of the "triangle of air ducts and speaker grills").
Next we installed the bedroom speakers by following the steps we took to install the previous speakers. We installed a volume controller next to the light switch. It is pretty straight forward. The speaker cable runs from the receiver to in to the volume controller and then out to the speakers. Unfortunately I don't have any pictures of this step, only the before and after.

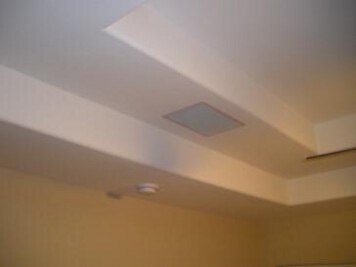
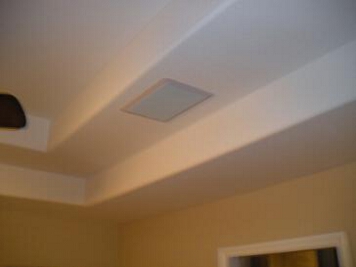
The last step was to hook up the speakers to the A/V receiver to test out the speakers in order to find out which speaker cable goes to which speaker and hook them up accordingly. Then we listened to some music and test out the sound system. Surprisingly, with only two speakers in the living room and two speakers and the bedroom the entire house sounded really good.
Additional Notes:
Rolled Batt Fiberglass Insulation (the regular pink roll of insulation) can be used to cover the areas where you intend to install future speakers. Simply put it down right on top of the sheetrock where you intend to install the speaker with the speaker wire under the insulation as well; however, in order to keep from cutting the cable we suggest that you tack the wire above the sheetrock. Loosely tack the wire in a zigzag pattern of the attic floor so that it can be pulled down when you're ready to use it. Be sure to map out exact location with precise measurements so that you will be able to find it later on just from your map. Another suggestion is to drill a small hole in the attic with a very thin drill bit right in the center of the location in which you will eventually install the speakers. Later on you can just find this hole and then cut and drill accordingly when the time comes to install the speakers.
For more information on installing in-wall speakers check out this video from Crutchfield